Blacksmithing: The creation of an 11-12th century Norman helmet
At the start of the fall semester I began a continuing education class at the New York School of Visual Arts Advanced Metalworking. The goal for taking this class is to construct a 11-12th century Norman helmet for use in full contact western martial arts in the SCA. I am beginning this post over a month into the class as much of the initial class time was spent honing skills and techniques needed for smithing.
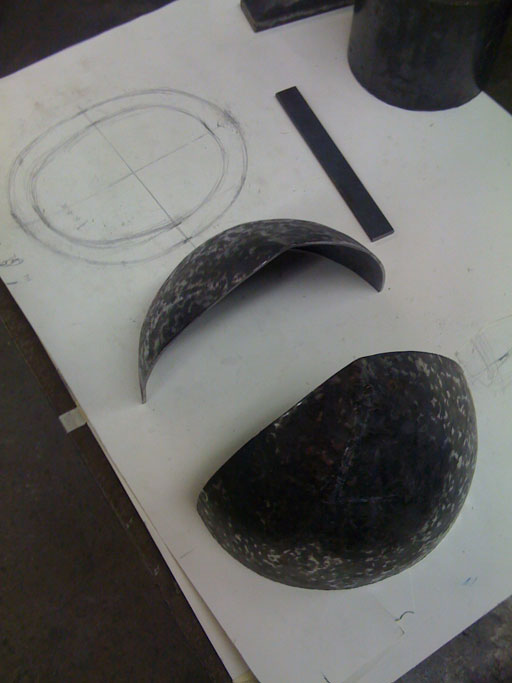
I began actual work on the helmet by creating a pattern with the help of my amazingly talented instructor/master armorer Jeff Wasson. Here we see a portrait/profile diagram of the helmet I am attempting to create.
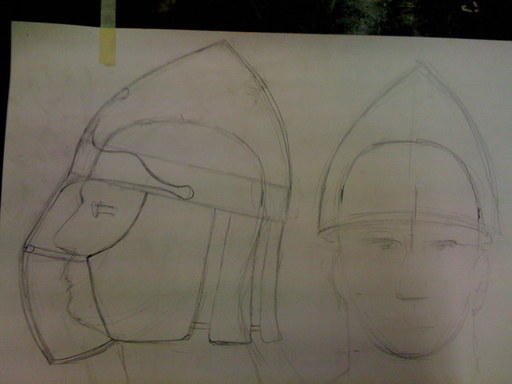
And a cross section looking down from the top… the outer ring is the rough line of the helmet, the inner ring is a cross section of my head.

The first step was to cut out two identical helmet halves… these are two football shaped sections of 12 gauge mild steel. Using a paper pattern I marked the cutting guides on to the sheet metal. Cutting the sheet metal with a hand operated plasma cutter is quite satisfying… reminds me of the tool they used in the movie “Aliens” to both cut and seal the big bulkhead doors.
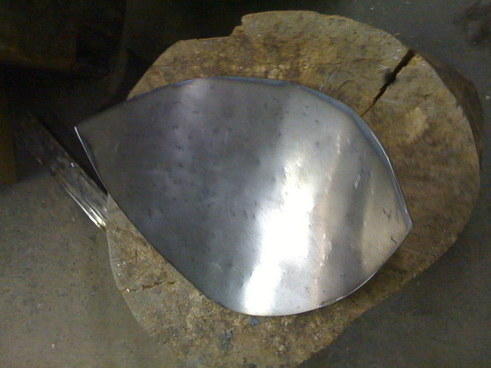
After rough cutting with the plasma cutter I used an angle grinder and then a belt sander to hone in the shape and de-burr the edges. I also gave each of the two halves an initial bend using a very large hammer and working the steel cold. Here is one of the two halves ready for shaping:
Working mild steel with hammer and anvil cold is certainly possible, but heating it up makes it so so much less work. Fortunately the SVA metal shop has a big furnace for just this purpose.
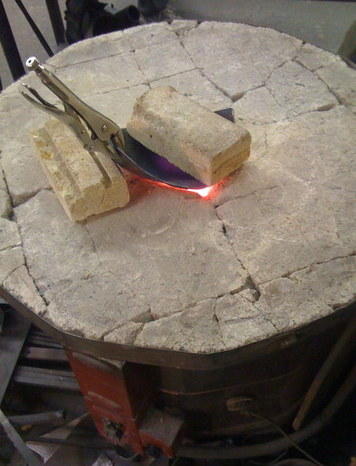
Starting to get nice and hot…
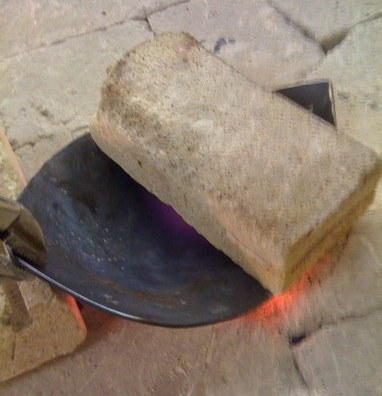
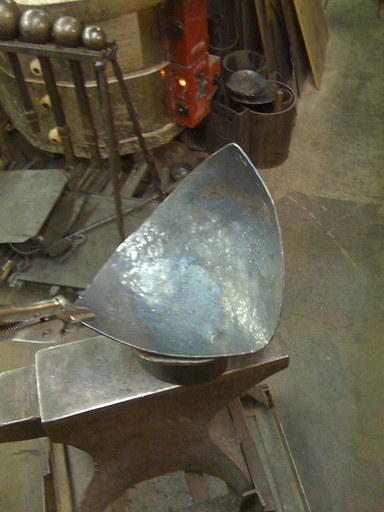
The next step is to quickly pull the helmet half from the heat and dish the metal into a bowl shape using a hammer and a dish shaped tool set into an anvil. You have to work quickly as the metal cools off very fast!
This is after a few rounds of heating and dishing… we can see the half starting to take shape…
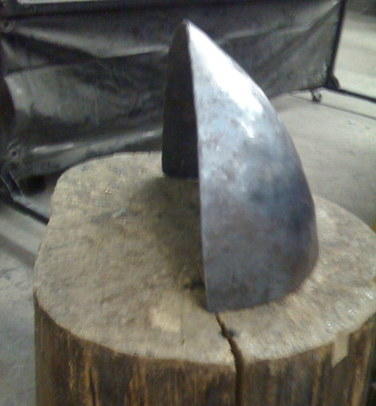
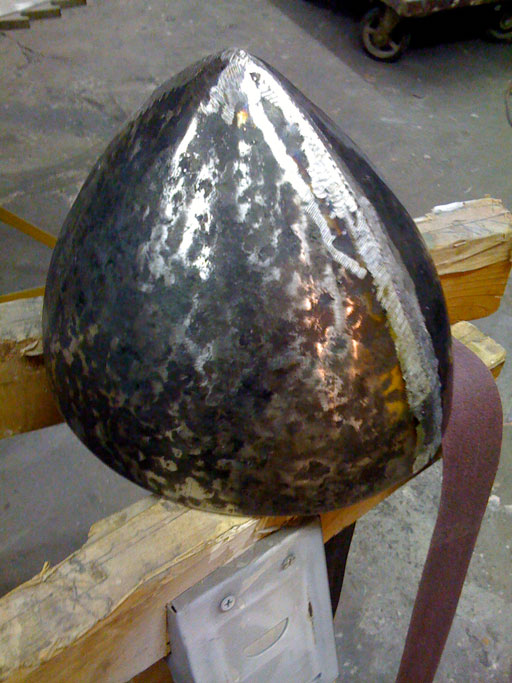
Here is one of the conical sections that is nearly finished…
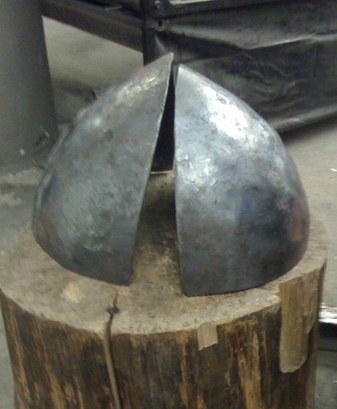
Here are both halves together for reference… still a bit of work left in getting the rough shapes correct, but its getting there!
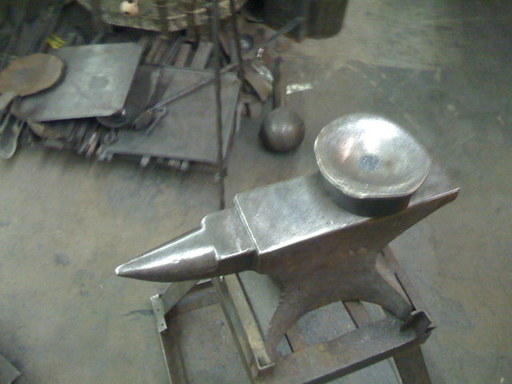
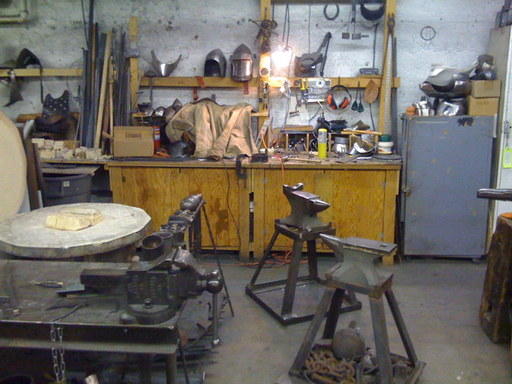
The workshop:
Still much left to do on this project… I will continue to update this post as work continues!
UPDATE 12/17/08
My original plan was to update this post as I progressed, but despite my best intentions I am now updating only after having finished the entire project.
…After more heating, shaping, hammering, bending, etc I managed to get the two halves close enough to the desired shape to then weld them together. Just before welding I realized that there is a very good reason you don’t hammer sheet metal too heavily when cold - it WILL crack. One of the halves, much to my dismay, had a massive series of cracks right in the middle where it needs to be the strongest. I did end up having to make a new piece from scratch but it taught me a valuable lesson about the nature of steel.
When steel is cold its molecules are interlocked and non-uniform which provides strength and flexibility. When cold steel is bent or hammered it’s molecules begin to line up in a more uniform pattern known as “work hardenening”. Once steel becomes hard from overworking it becomes very brittle - the same behavior can be seen by bending a piece of metal back and forth until it snaps. When heat is applied to metal it causes the steel to move around on an atomic level. This allows you to work and shape it not only more easily, but without fear of hardening and breaking the metal.
The last step before assembly is called planishing. Basically you take a much lighter weight hammer and take out all the peaks and valleys in the surface of the shaped metal. This is done either from the “inside” of the metal with the finished side resting on the anvil or by striking the finished side with the “inside” resting on a concave surface that matches the basic shape of the metal being planished. After much tweaking here is the final two helmet halves ready to be welded up.
And then after welding and a little grinding:
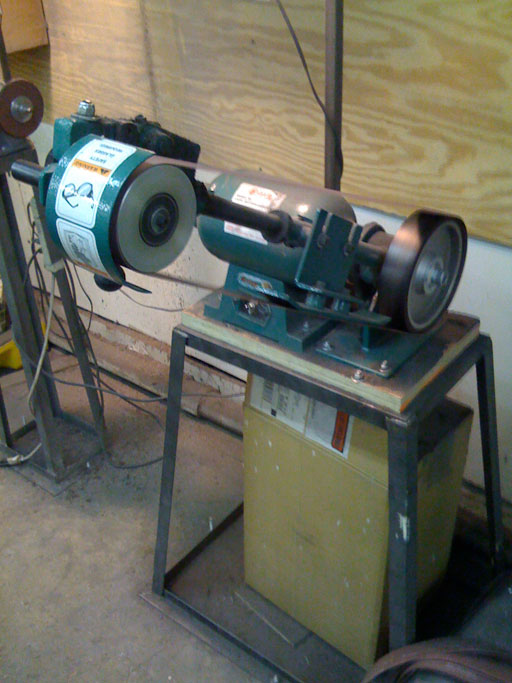
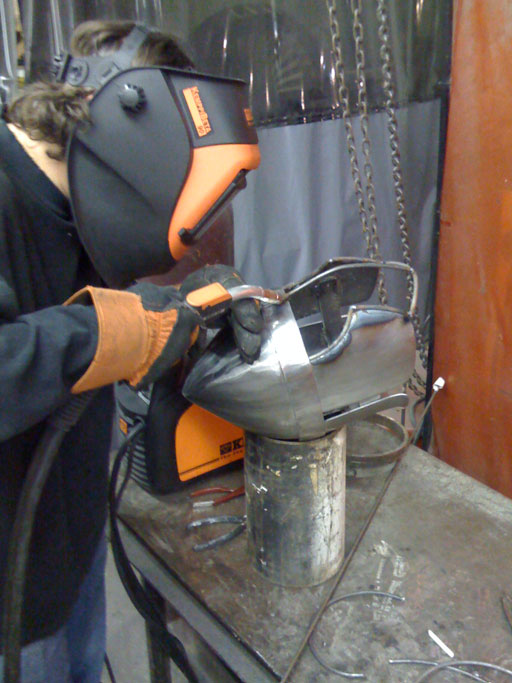
The next step is to take down the weld seam with an angle grinder and then, using a belt sander, remove the hammer marks and any peaks or valleys left in the metal that were not taken care of during planishing. The belt sander is a life saver… here it is in all its glory:
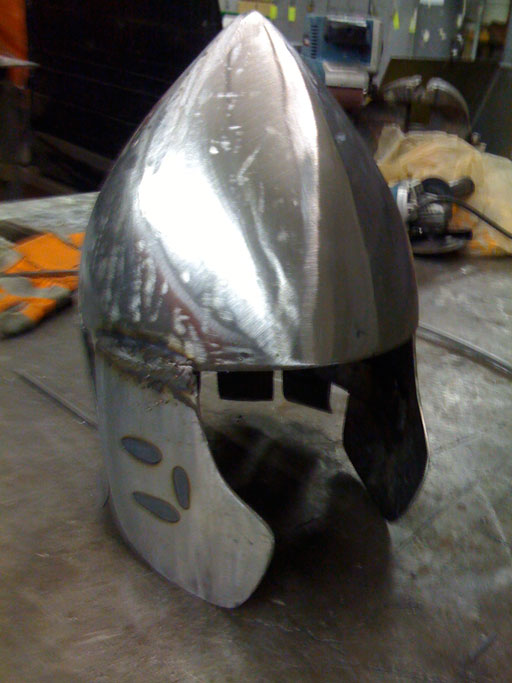
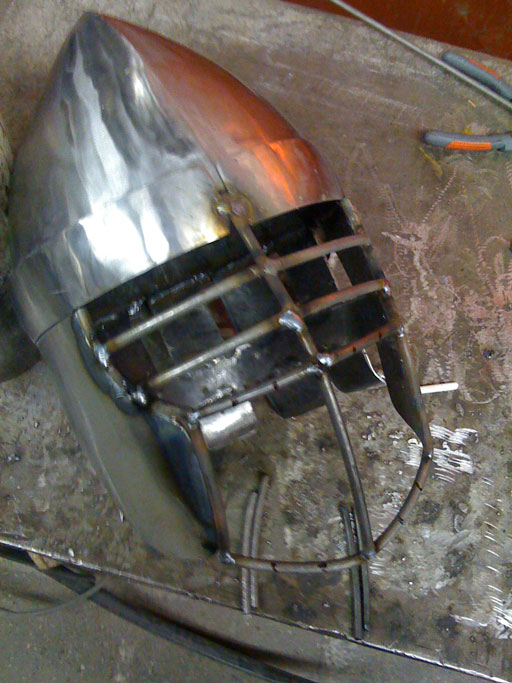
After finishing the top part of the helmet I went about cutting out the remaining pieces using the plasma cutter and a little bit with the Beverly shears (basically giant scissors for sheet metal). At this point in the project I neglected to take pictures due to being in a rush to finish before the end of the semester, but here is the result of a ton of measuring, cutting, hammering, grinding, welding, sanding, and sweating.
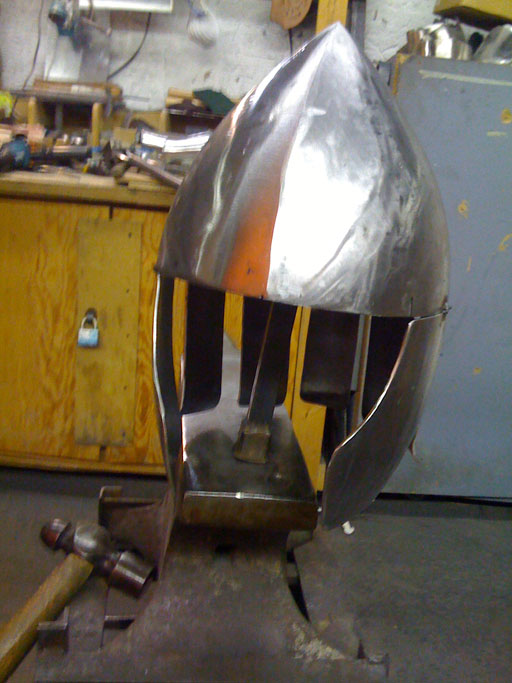
The final stage of construction was the attachment of the bar grill. For the type of combat I do a bar grill is crucial… getting hit in the face with a big piece of rattan will ruin anyone’s day. I assumed that this would be one of the more difficult parts of the project, but it really turned out to be quite straight forward thanks to Jeff’s experienced eye helping me set the pieces and get the spacing correct.
We started by first tacking on 1/4 inch bar stock to the cheek flaps and then adding the bottom most horizontal bar. After letting the welds cool down I then tested that a) I could get the helmet on still and b) that the bar grill extended down far enough to provide sufficient protection to the throat. After being satisfied with the position of the first pieces we attached the main vertical bar that runs down the center of the entire face opening.
Here is Jeff helping me get the bars tacked in place:
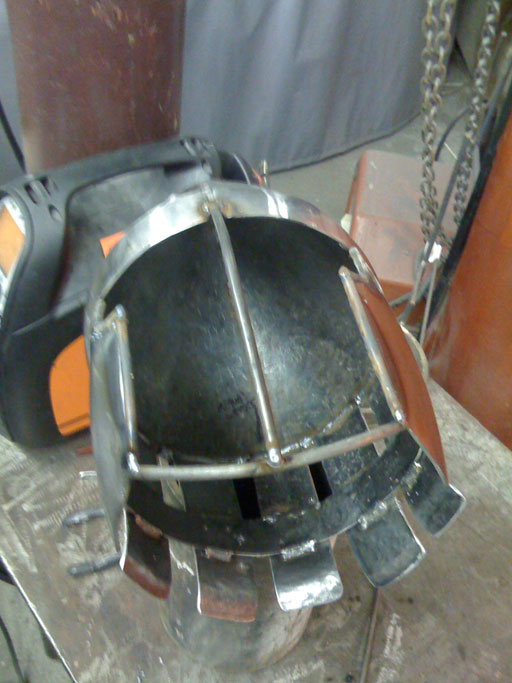
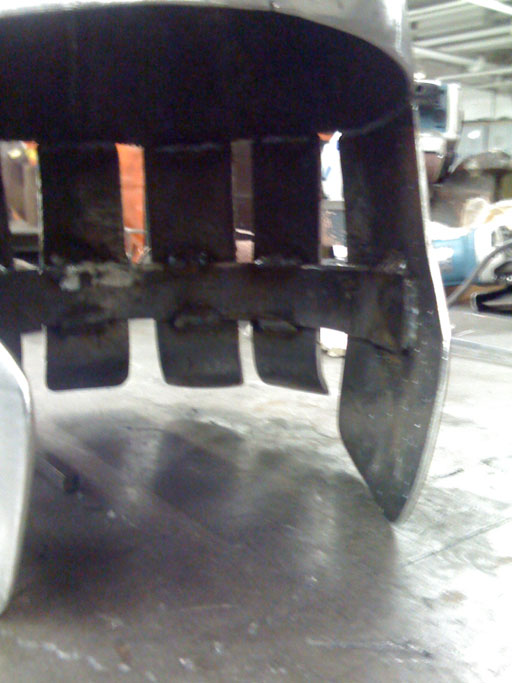
After the main middle piece was set, attaching the remaining bars was a slightly tedious, but fairly easy job. Here we are with just a few vertical bars left to be attached:
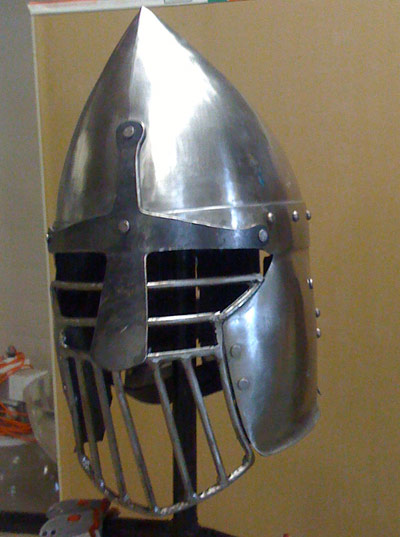
After finishing the bar grill I attached the decorative nasal piece and put some rivets into the band that overlaps the top and bottom sections (also decorative).
To call the helmet finished I spent many hours doing many different types of grinding and sanding in order to get a nice satin finish. Pictures of the finished product soon to come!
UPDATE UPDATE (summer-ish 09)
I took another semester of Jeff’s class in the spring of 2009 and created another helmet from scratch. This one is a slightly different design featuring a forward pointing peak and is more close fitted. The steel used in this second helm is 16ga 1050 high carbon steel. The neat thing about high carbon steel is that it can be heat treated - resulting in a finished shape that is flexible but also extremely hard.


